
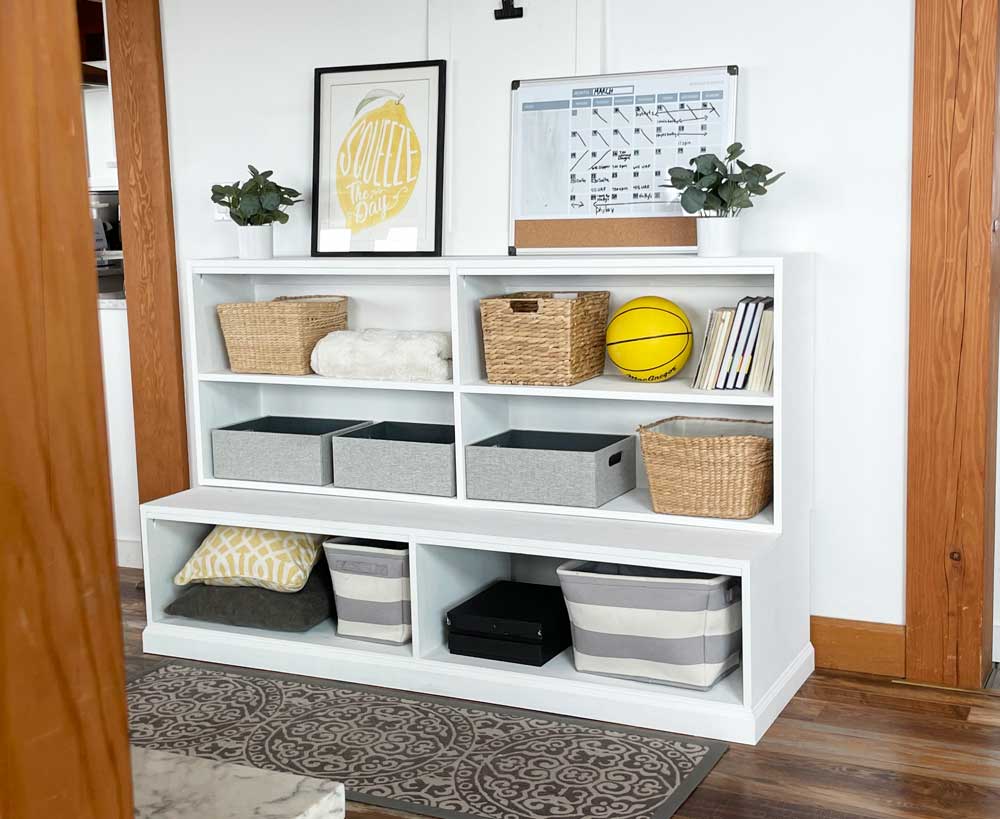

Basic custom shelving that you design and build yourself? Yep! You can. Here's how!
Free tutorial from Ana-White.com on how to build storage hutches (for over base cabinets).
Good storage that fits just right is the cornerstone of a tidy, organized, and easy to maintain home.
After a decade of designing furniture, I realized that all storage furniture is really just a plywood box, trimmed or with doors/drawers to make up everything from a simple bookshelf to a full kitchen. The technical term is case furniture.
So if it's just a box with trim.. why isn't there an app that lets you design that box, and then you have the structure to add the trim too?
That's why I created Shelf Help a couple years ago! It's a FREE app that you can use to design your own furniture without having to learn a complicated software. In this video, I use the Shelf Help app to make this bookshelf - watch it!
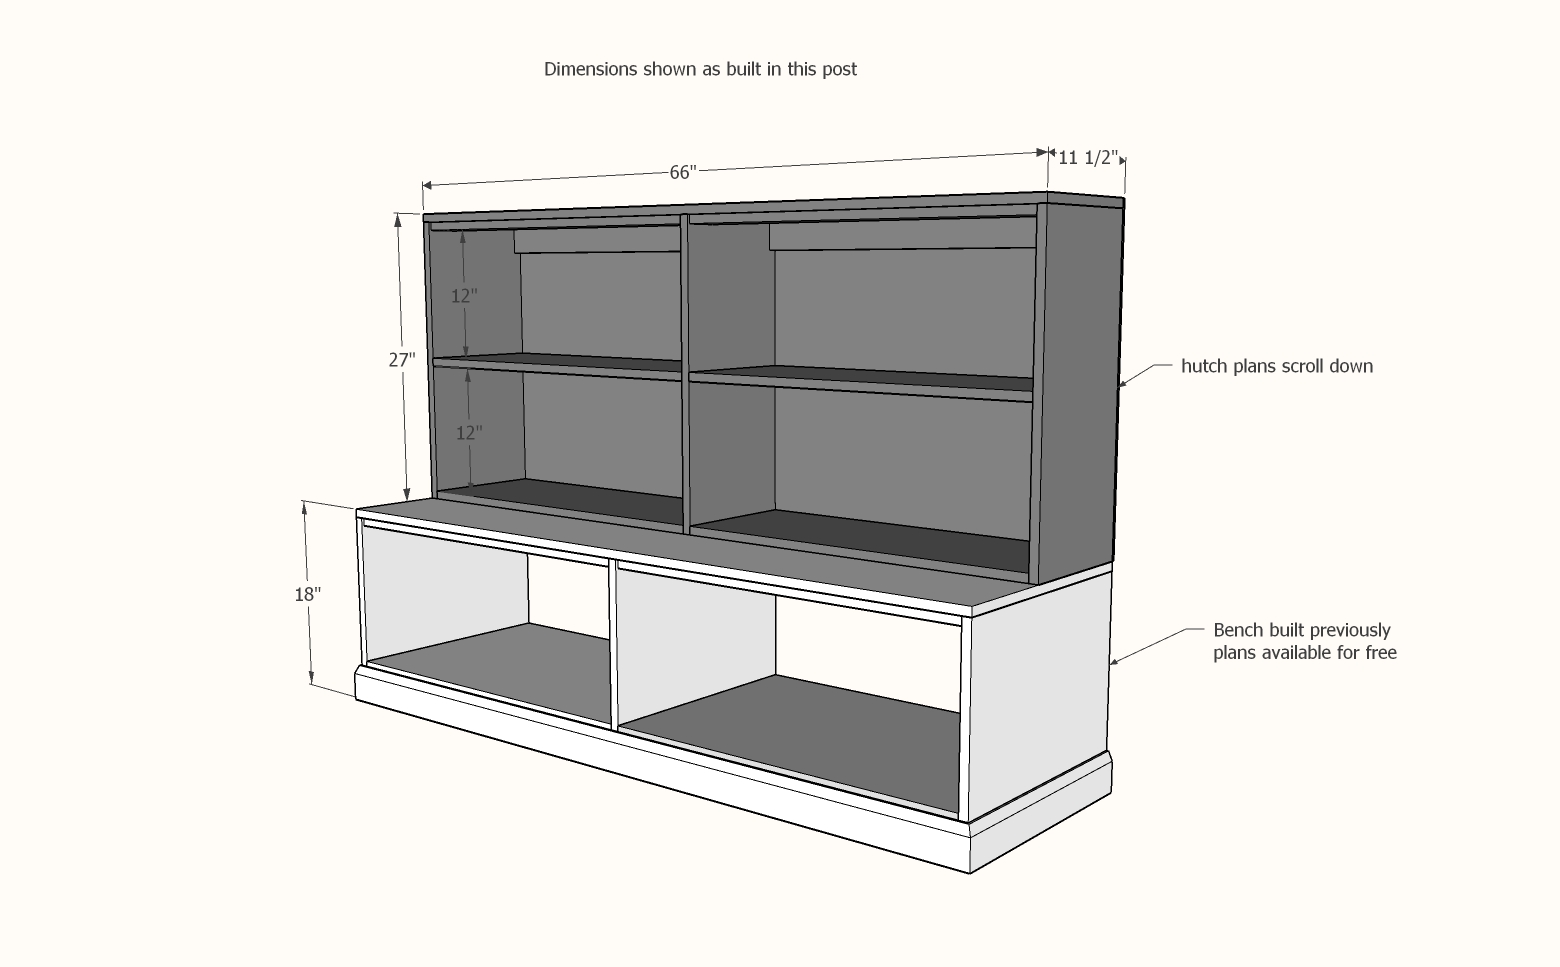
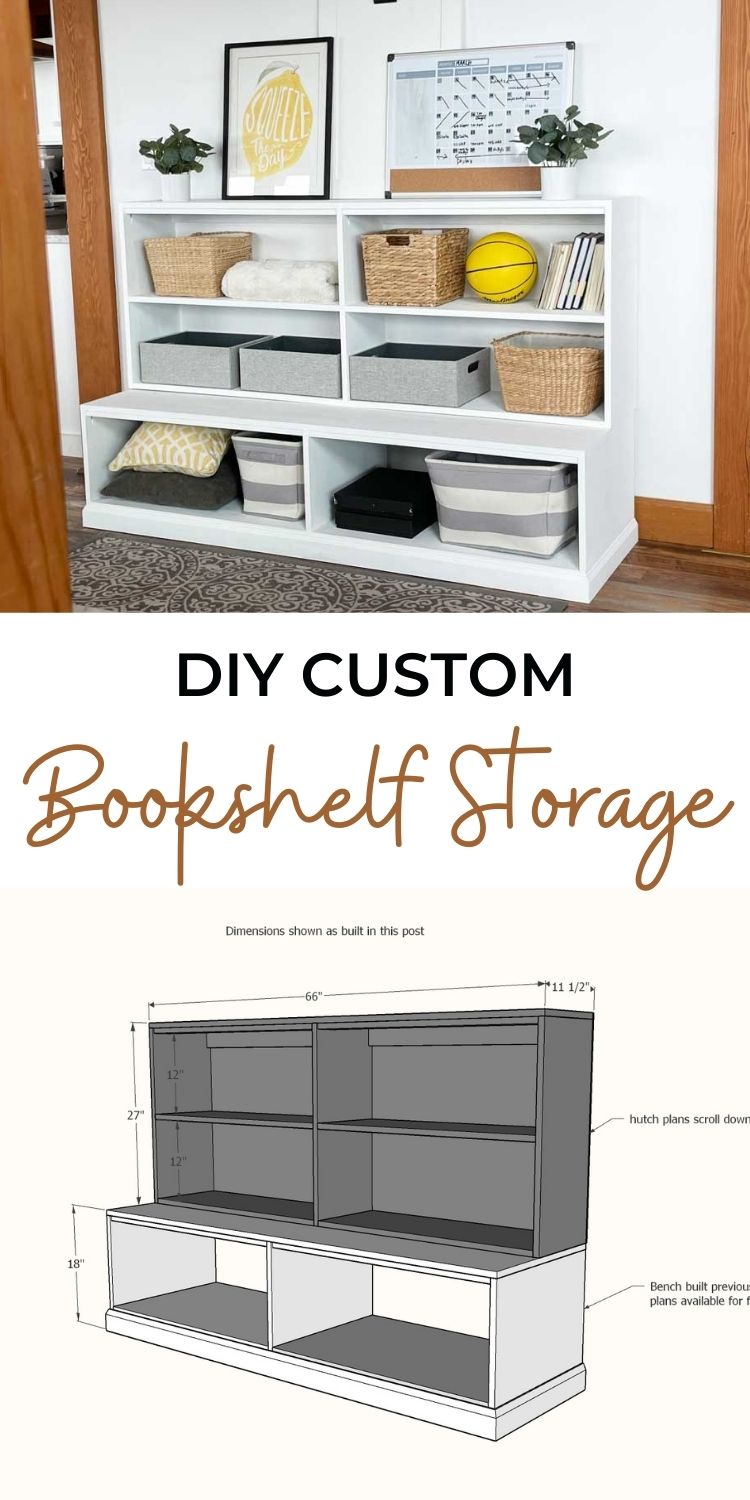
Dimensions
Here's the exact dimensions I used for this project.
Tools and Materials Needed
You will need a few tools and materials to do this project:
- Measuring tape, pencil, speed square, hearing protection, eye protection (the basics)
- Drill
- Kreg Pocket Hole Jig (I use the K5) with 1-1/4" pocket hole screws
- Brad Nailer (I use the Ryobi AirStrike cordless brad nailer) with 5/8" long brad nails
- Plywood carcass kit from Shelf Help or cut your own using 3/4" cabinet grade plywood, with front edges finished with edge banding
- 1/4" hardwood plywood for the back
- 1x3 boards for bay supports (board feet needed = measure the overall width of the project times two)
- Finishing supplies to include medium and fine sandpaper, wood filler, primer and paint or wood stain and clear coat
Open Base Bench Plans
The open base was built by me a couple weeks prior. It turned out really great and I love the sizing in the space and for my baskets and bins. The plans are free and available here.
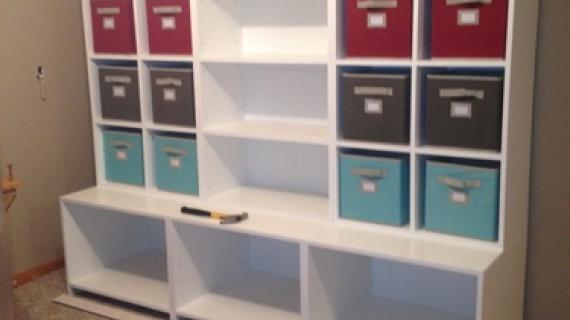
Open Shelf Hutch - Designing the Plans
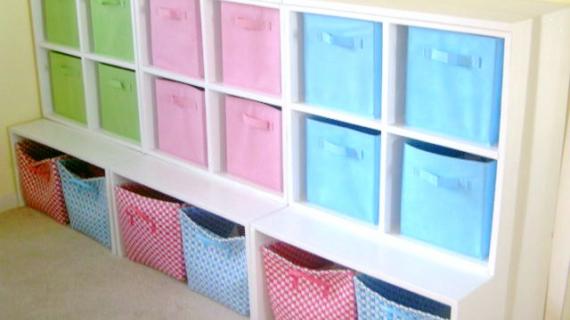
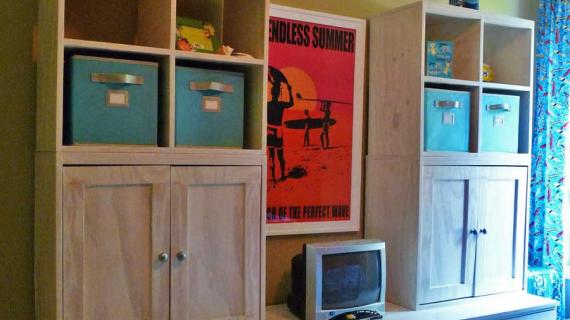
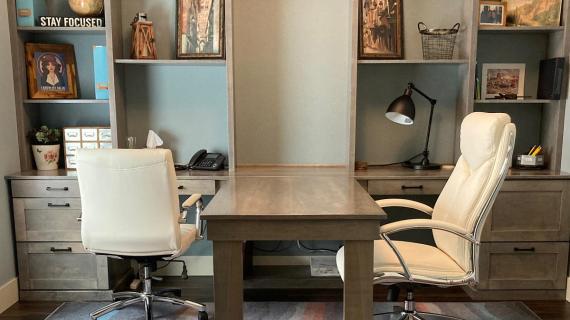
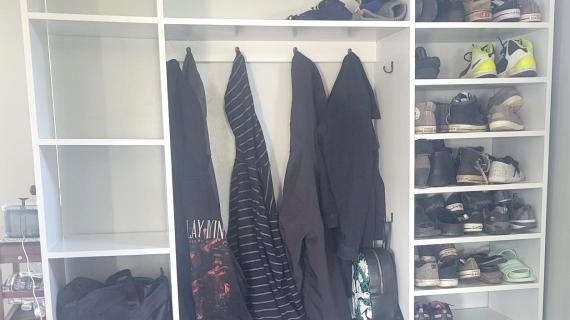
The open shelves on top I just finished. They could be made taller or even shorter - really endless options here for customization. You can also use them over other cabinets - kitchen cabinets, console cabinets, or as towers on either side of a tv. I kept a classic toy storage height - just right for kids being able to put their own toys away, and still room on top for decor.
I first penciled out what I was looking for on scratch paper.
Then I entered the outside dimensions into the Shelf Help Configurator.

Plywood Pieces
From there, you can use the Shelf Help app create plans for you that include a cut list. You can cut your own plywood - use 3/4" cabinet grade hardwood plywood. Cut with a table saw or track saw. Finish the front edges with edge banding.
You can alternatively have the precut pieces shipped to your front door using the Shelf Help app.
Carcass Assembly
Once you have your plywood pieces in hand, it's time for assembly.
Mark out on the plans the location of all pocket holes. Then drill the pocket holes in the pieces. For the 11-1/4" width, I used two pocket holes, but three could also be used.
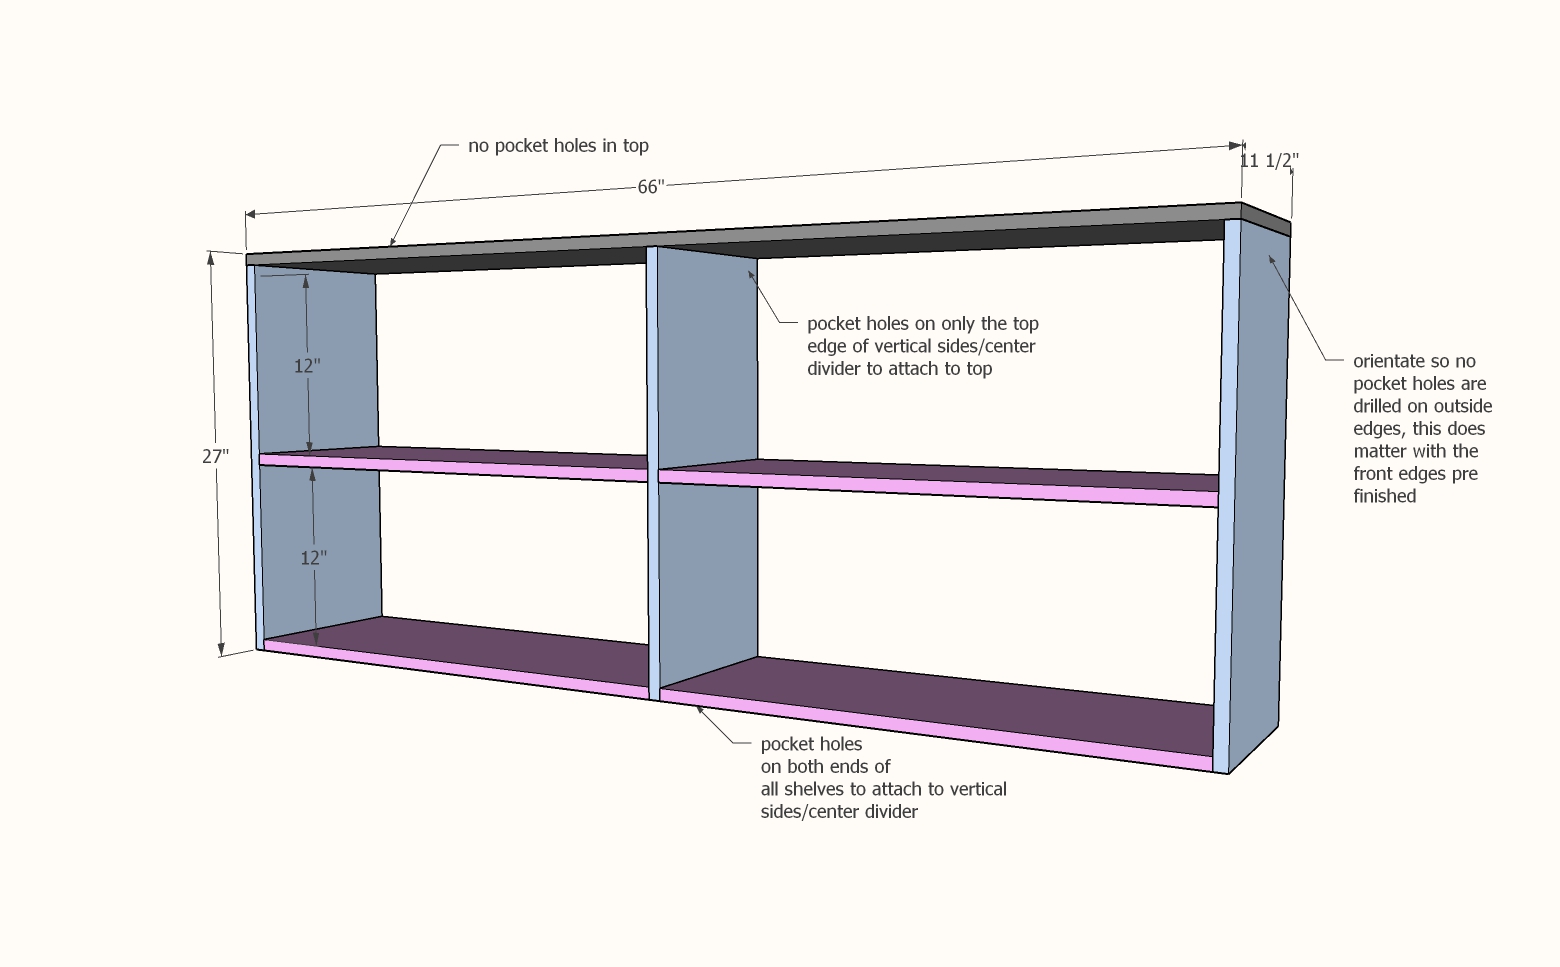
Then assemble the carcass. I started by attaching the verticals to the underside of the top. Then the shelves to the verticals.
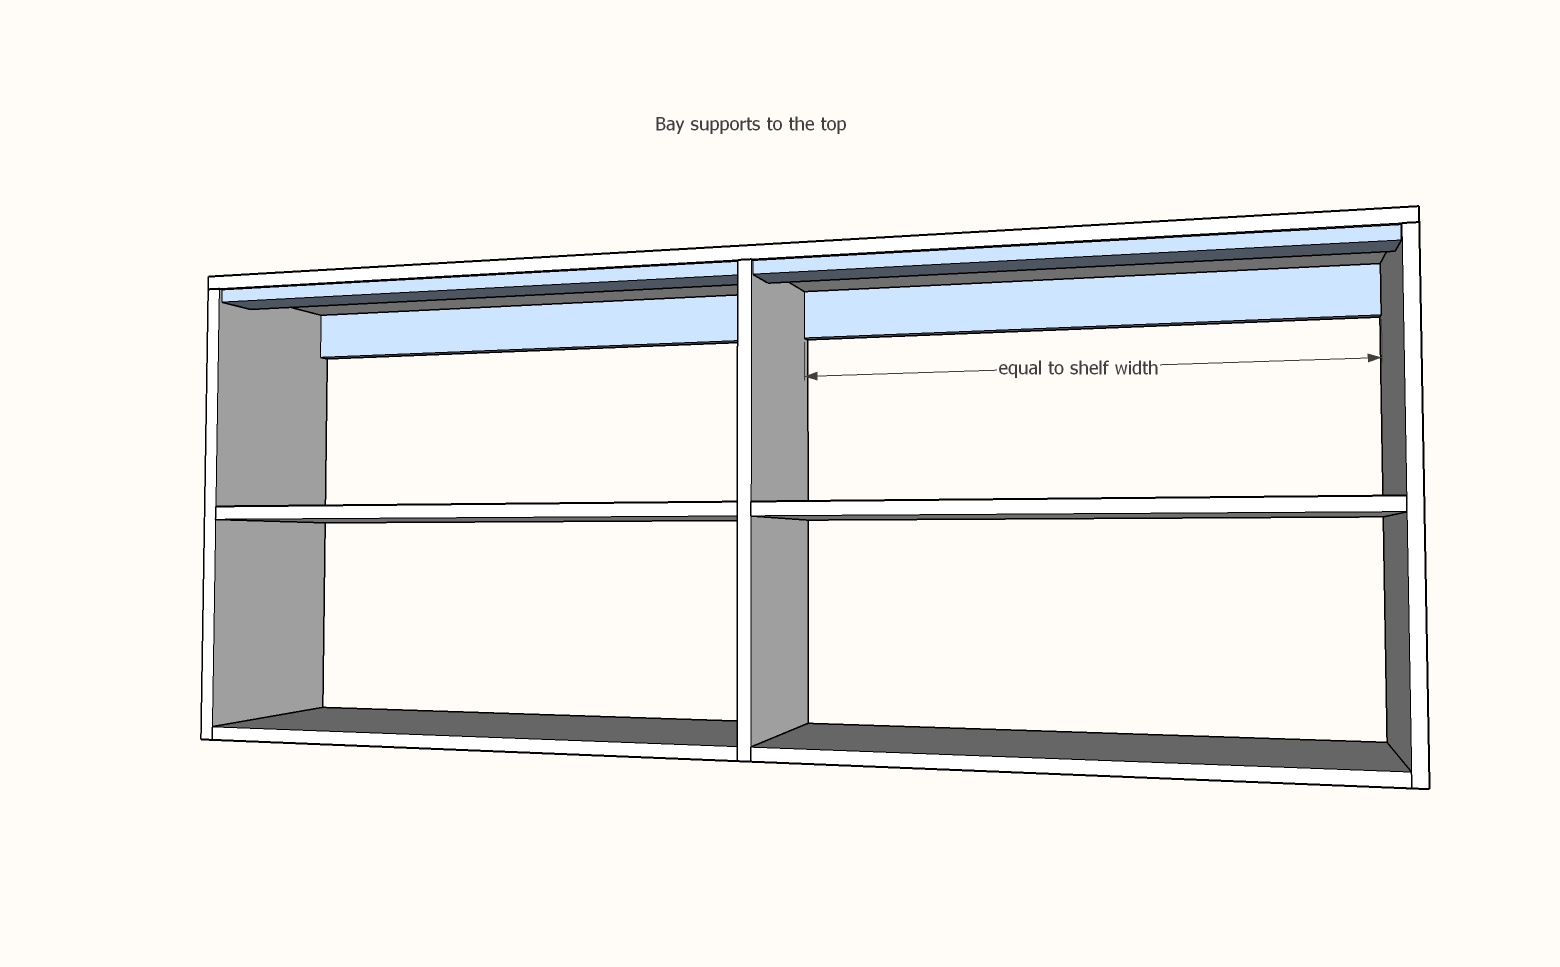
Bay Supports
The plywood carcass on it's own is not enough to keep the project rigid. Bay supports help with this. At least one at the top back is recommened, pocket holes on top and side edges.
A bay support at the front will help as well, and make the project look more finished. I only pocket holed the ends. Then just use the 1-1/4" pocket hole screws like regular screws, and screwed through the middle of the bay support into the underside of the top.
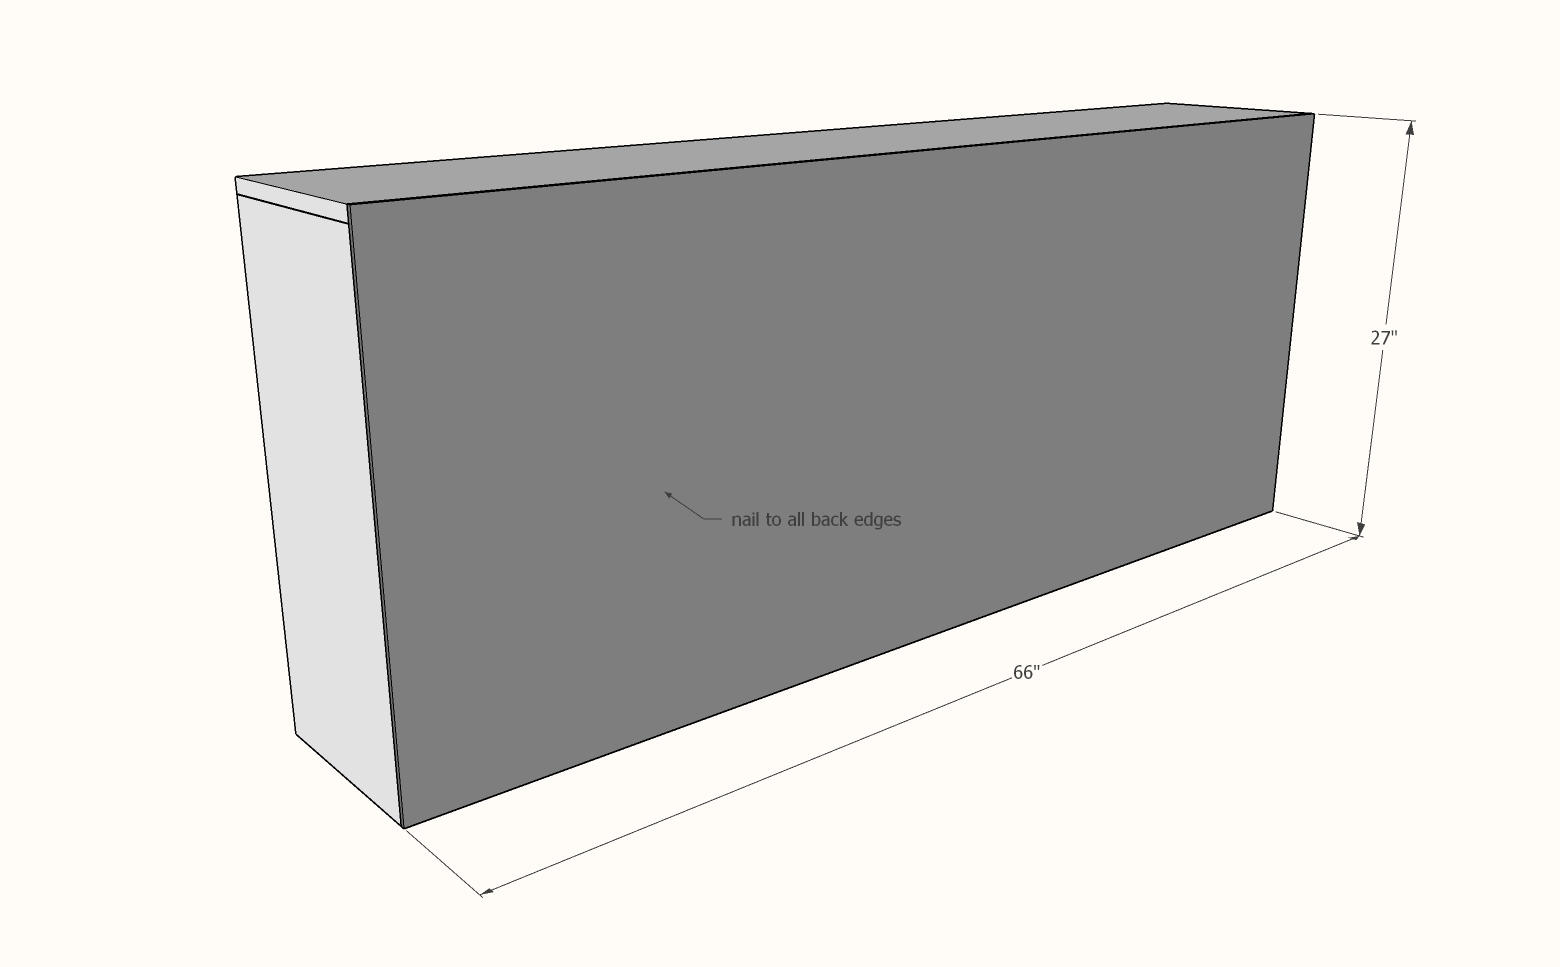
Back
I highly recommend a back for this piece, as it is at eye level and will help contain the contents of the shelves.
Use 1/4" plywood - for painting, this could be just about anything. For staining, match the wood species of the carcass.
Cut about 1/4" overall smaller, so the outside edge is not visible.
Attach to back with glue and 5/8" brad nails to all back edges.
Finishing
To finish, I filled any exposed holes with wood filler and let dry.
Then I did a light sanding with medium grit sandpaper, followed by fine sandpaper using a hand sanding block.
Then I removed all sanding residue with a vacuum with a soft bristled brush attachment.
I applied one coat of primer with a brush and small roller.
Then I applied two coats of cabinet grade paint in a semigloss sheet with a brush and small roller.
I did lightly sand in between coats with fine sandpaper.
Pin For Later!
.jpg)