

Build your own farmhouse end table and save hundreds! This easy, DIY end table only costs about $20 to make! Free plans by ANA-WHITE.com
End tables are essential to a living room. They not only add to the function by storing and providing a tabletop surface - but they define the structure of the living room and add beauty.
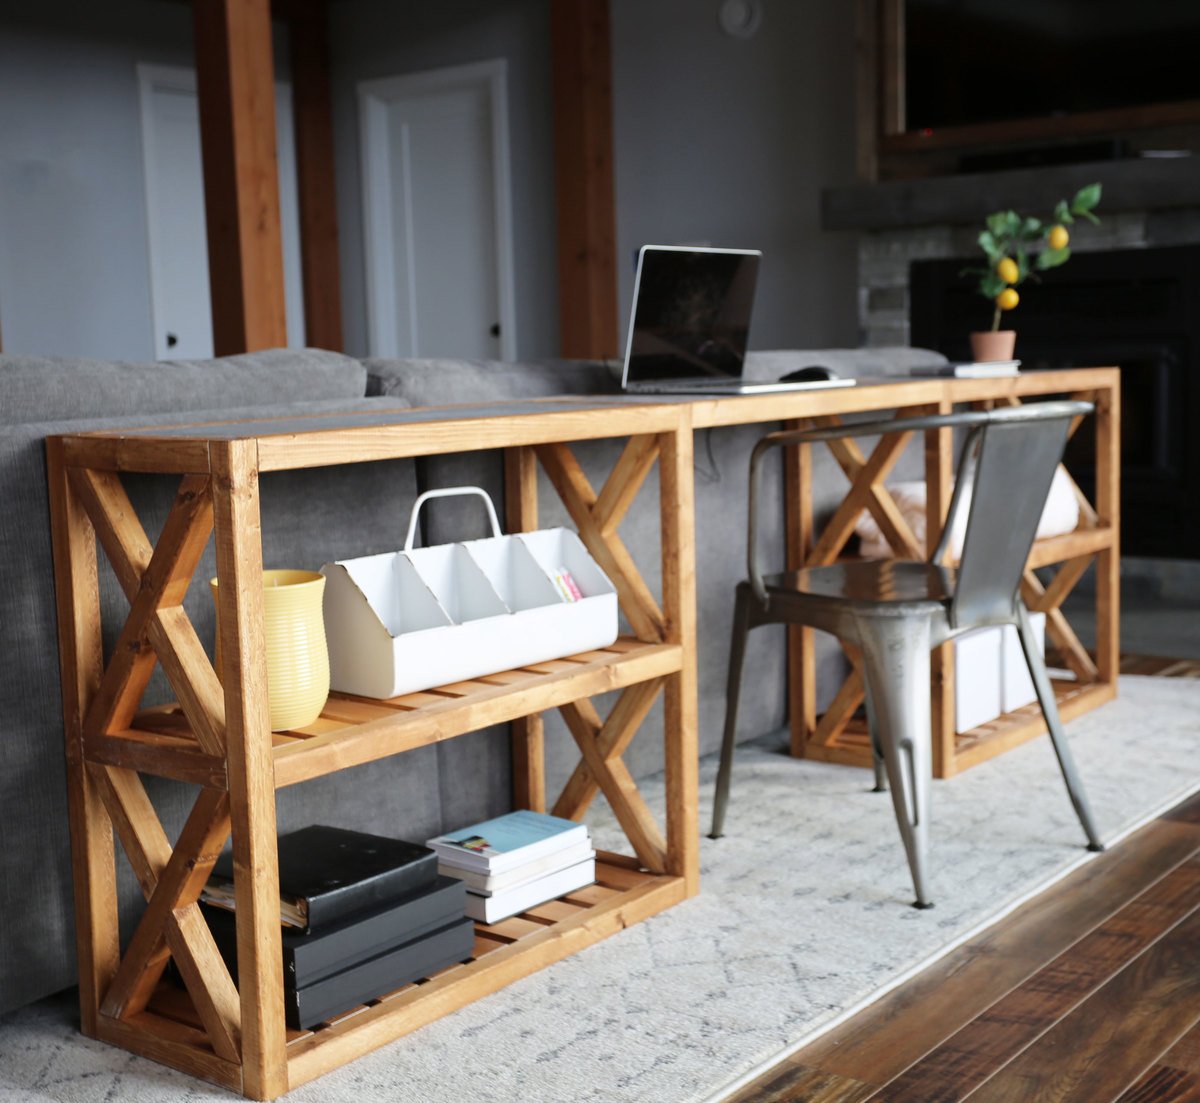
We needed end tables for our living room. I love our Rustic X End Table plans, but the substantial overhangs of the tops would be a hazard for our 9 month old baby. I spotted some similar living room tables in a catalog, without the overhangs - but the set would cost over $1600! So I decided to DIY my own end tables.
We ended up building a console table with desk bridge (plans in the works) and a end table. The two tables transformed our living room! Not only does the space function much better, but it just looks so much better now! And there's a good amount of storage now, both hidden and not. We love love love it all!
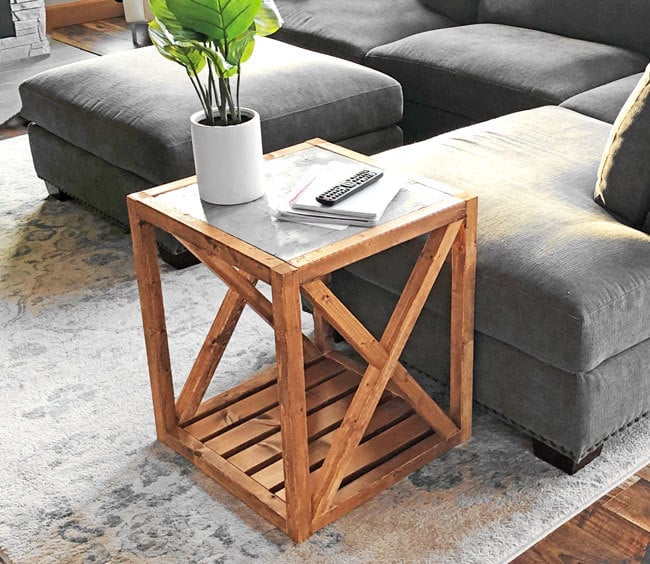
The farmhouse end table is maybe my most favorite!

It's the perfect size, the perfect height, and the perfect mix of rustic and modern. It's so sturdy - we find ourselves moving it all around the living room to use for playing cards or board games or serving food and drinks off of.
We spent about $20 building it - yup, TWENTY BUCKS for this beautiful farmhouse end table! What a bargain!
The plans are following, please share if you build, we love seeing your projects! It's a big deal!
XO Ana
PS - We've added plans for the Modern Rustic X Console Table here!

Preparation
4 - 2x2 @ 8 feet long
1 - 1x3 @ 8 feet long
1 - 3/4" plywood scrap or similar @ 17-3/4" x 17-3/4"
1-1/4" brad nails or pocket hole screws - depends on how the bottom slat boards are attached, see plans below
4 - 2x2 @ 24" - legs
8 - 2x2 @ 17-3/4" - horizontal supports
5 - 1x3 @ 17-3/4" - slats
1 - 3/4" plywood @ 17-3/4" x 17-3/4" - top
Cut to fit the X pieces


You may wish to prefinish the boards before assembly as we did in the video tutorial.
Instructions
Step 1

Drill one 1-1/2" pocket hole on each end of all of the 2x2s @ 17-3/4". Attach to the legs with a single 2-1/2" pocket hole screw, hiding pocket holes on underside.
Step 2

Attach the remaining 2x2s together to form the frame.
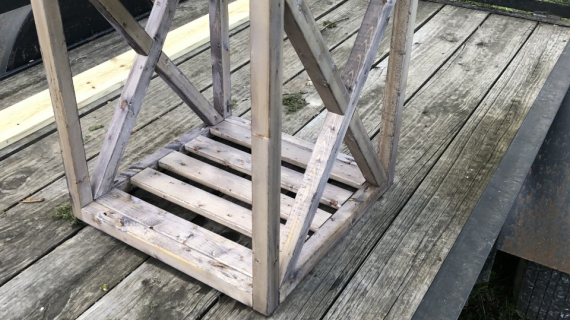
Step 3

Drill two 3/4" pocket holes on each end of the 1x3s and attach with 1-1/4" pocket hole screws.
ALTERNATIVE: Nail 1x1 material to the inside of the 2x2s as a cleat and lay 1x3s on top and attach with 1-1/4" brad nails as done in the video tutorial.
Step 4

Cut and fit the plywood into the frame.
Drill 3/4" pocket holes, three per side, on all four sides of the top plywood. Attach with 1-1/4" pocket hole screws to the 2x2 frame.
Step 5

Step 6

Scribe the smaller X pieces as you did in step 5. Cut to fit, and attach with 2" nails and glue.
.jpg)
Comments
GoDawgs
Mon, 02/11/2019 - 05:31
Finish
Do you ever put top coats on your furniture? I never hear you mention it in the videos so it seems like you just go with stained raw wood. My personal favorite has become Arm-R-Seal from General Finishes but I was curious about what you liked to use if you do at all.
scooby3202
Wed, 02/12/2020 - 12:30
Coffee
Any plans to add a coffee table plan for this design?